

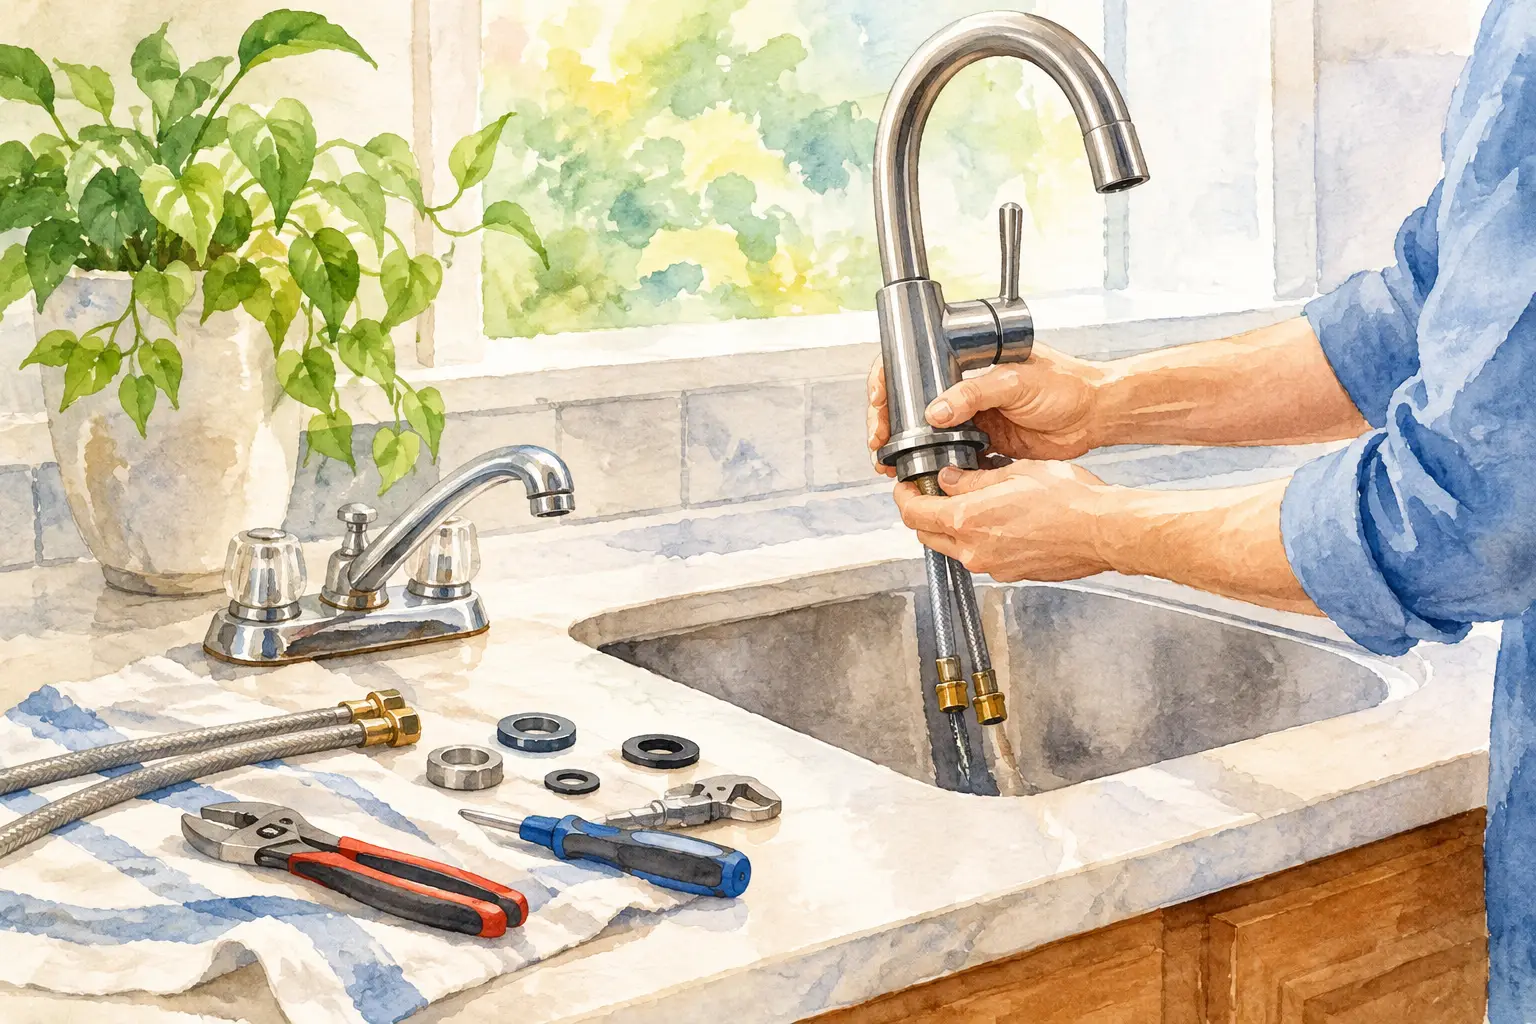
A faucet that drips through the night, wiggles at the base, or sends water in every direction except the sink is more than an annoyance. It can waste water, damage the cabinet below, and make a kitchen or bathroom feel tired before its time. This guide to replacing faucets helps you decide whether the job is a smart DIY upgrade, what to buy before you start, and when a plumber is the safer call.
A new faucet can be one of the quickest ways to refresh a room. But the fixture is only one part of the job. The shutoff valves, supply lines, sink openings, countertop condition, and drain connections all need a close look. We do not guess. We assess.
When Replacing a Faucet Makes Sense
A steady drip is a common reason to replace a faucet, especially when a repair kit is no longer available or the fixture has already been repaired more than once. Corrosion around the base, a loose handle, poor water flow, cracked finishes, and leaking supply hoses are other signs that replacement may be the better long-term choice.
Sometimes the faucet is not the real problem. Low flow may come from mineral buildup in the aerator, a partially closed shutoff valve, or an issue farther back in the plumbing. Water collecting under the sink may be coming from the drain, dishwasher connection, or a failing shutoff valve rather than the faucet itself. Replacing a fixture without finding the source can leave you with the same leak and a new bill.
If you are planning a kitchen or bathroom update, replacing the faucet before the old unit fails gives you more control over the schedule and style. It also lets you address worn valves and supply lines while the area is already accessible.
Choose the Right Faucet Before You Start
The easiest faucet replacement is usually one that matches your existing sink configuration. Look under the sink and count the mounting holes in the countertop or sink deck. A single-hole faucet has one central mounting point. Centerset models generally use three holes spaced close together, while widespread faucets use separate holes for the spout and handles.
A faucet deck plate can sometimes cover unused holes, but it cannot solve every fit issue. The new faucet also needs enough clearance behind it for the handle to move, especially if it is installed close to a backsplash. For kitchen sinks, consider how high the spout reaches and whether a pull-down sprayer will fit comfortably under upper cabinets.
Finish and style matter, but practical details matter more over time. A quality ceramic-disc cartridge generally offers dependable operation, and metal mounting hardware tends to hold up better than lightweight plastic components. If you have hard water, choose a faucet with an easy-to-clean aerator and avoid designs with tight grooves that collect mineral deposits.
For a family bathroom, a single-handle faucet can be simple to use and easy to clean. In a kitchen, a pull-down faucet offers flexibility for rinsing dishes and filling pots. The right choice depends on how your household uses the space, not just what looks good in the showroom.
Prepare for a Clean Faucet Replacement
Before taking anything apart, clear the cabinet and place a towel or shallow pan under the water connections. Even when shutoff valves are closed, a small amount of water remains in the supply lines. Good preparation keeps a manageable job from turning into a soggy cabinet cleanup.
You will typically need a basin wrench for hard-to-reach mounting nuts, adjustable pliers, a bucket, towels, plumber’s putty or silicone if the manufacturer calls for it, and new supply lines if the existing ones are old or damaged. Do not reuse corroded, kinked, or brittle supply lines just to save a few dollars. They are inexpensive compared with repairing water damage inside a cabinet.
Locate the hot and cold shutoff valves under the sink. Turn them clockwise until they stop, then open the faucet to confirm the water is off and relieve pressure. If either valve will not turn, drips when operated, or does not fully stop the water, pause there. Forcing a seized valve can create a bigger leak than the faucet replacement itself.
Remove the Old Faucet Carefully
Disconnect the hot and cold supply lines from the shutoff valves, keeping the bucket below the connections. If the old faucet has a side sprayer or pull-down hose, disconnect that line as well. Take a quick photo of the setup before removal. It can make the new installation easier to visualize.
The mounting nuts are usually tucked behind the sink bowl, where access is limited. This is where a basin wrench earns its place. Loosen the nuts, remove any brackets or retaining plates, and lift the old faucet out from above.
Do not be surprised if the faucet feels stuck. Old putty, mineral deposits, or silicone can hold it in place. Work slowly around the base with a plastic scraper rather than prying aggressively against the countertop or sink. Once removed, clean the mounting surface thoroughly so the new faucet can seal correctly.
Install the New Fixture Without Shortcuts
Read the manufacturer instructions before applying putty or tightening hardware. Some faucets include a foam or rubber gasket and specifically do not require plumber’s putty. Using the wrong sealant can stain certain stone tops or interfere with the intended seal.
Set the faucet into the mounting hole or holes, making sure it is centered and facing straight ahead. From below, install the mounting hardware and tighten it evenly. The goal is secure, not overtightened. Too much force can crack a sink, distort the gasket, or damage threaded parts.
Connect the supply lines to the faucet and shutoff valves. Hand-tighten first, then use a wrench for a modest additional turn. Cross-threading is easy to do in a cramped cabinet, so if a connection does not turn smoothly by hand, stop and realign it. Never force a fitting into place.
If the faucet has a pull-down hose, attach the weight at the location recommended by the manufacturer. It needs enough room to travel freely without hitting drain pipes, cleaning products, or the cabinet wall. Test it before filling the cabinet back up.
Test for Leaks Before Calling It Finished
Turn both shutoff valves on slowly. Check every connection with dry fingers or a piece of tissue, including the faucet body, supply line fittings, and shutoff valves. Tissue shows small leaks that can be hard to see under a sink.
Run hot and cold water for a few minutes. This flushes debris and confirms the handles, sprayer, and aerator are working properly. Check again after the water has been running and once more an hour later. A tiny drip can become a cabinet-floor problem when it goes unnoticed.
When to Call a Plumber for Faucet Replacement
A faucet replacement should feel like an upgrade, not a risk to your home. Call a licensed plumber if the shutoff valves are seized, the supply lines are corroded, the sink or countertop is damaged, or you see signs of a slow leak inside the cabinet. These are common issues in older homes, and they often need attention before a new fixture can be installed safely.
Professional help also makes sense when you are changing the sink layout, moving plumbing for a renovation, adding a pot filler, or installing a wall-mounted faucet. Those projects can involve new water lines, precise measurements, and local plumbing requirements. No shortcuts means doing the work correctly before walls, tile, or cabinetry close it in.
For Calgary homeowners, a prompt repair is especially worthwhile when a leak is active or water has reached flooring, cabinetry, or nearby drywall. Water does not wait for a convenient appointment. ValveOn Plumbing can coordinate licensed, insured plumbing help with clear communication, upfront invoicing, and respect for your home from the first visit.
Keep Your New Faucet Working Well
A little care helps a new fixture last. Wipe the surface with a soft cloth instead of abrasive cleaners, clean the aerator when flow begins to weaken, and look under the sink every few months for moisture or corrosion. Keep heavy cleaners and storage bins away from the supply lines so nothing rubs, bends, or loosens a connection.
If you notice a drip, loose base, or damp cabinet after installation, deal with it early. A small plumbing concern is easier to fix when it is still small. Book service when something does not look right, and you can get back to a kitchen or bathroom that works the way it should.
Leave a Reply